Looking for a simple craft for your kids to do that will add some imaginative play to their exploration day? Try creating some binoculars out of materials you may already have at home!
WHAT YOU’LL NEED

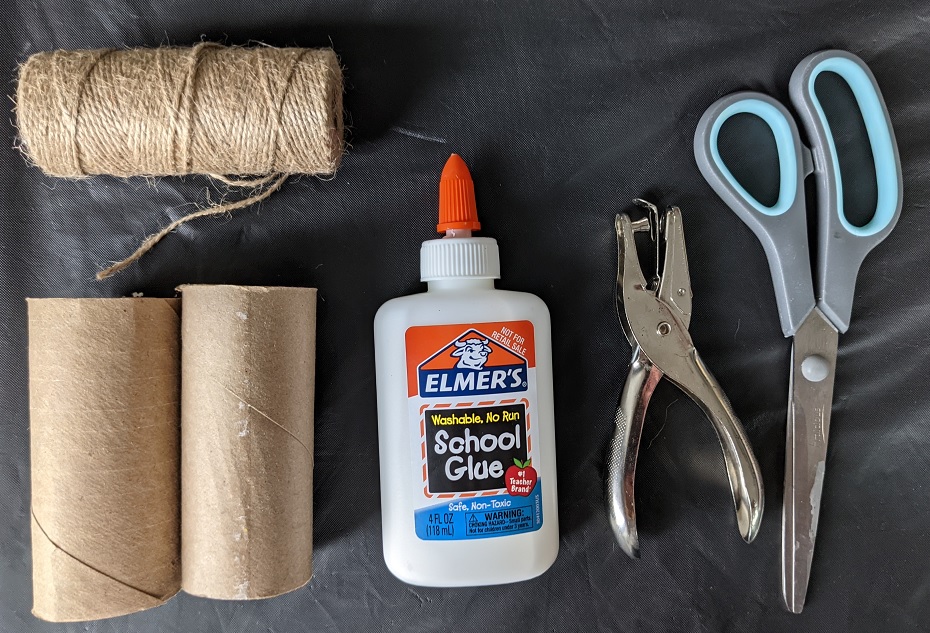
THE SUPPLIES:
- Two Toilet Paper Rolls
- Twine , Yarn, Ribbon, String, even an old shoelace will do – 🙂 anything that can be used as a cord for the binoculars
THE TOOLS
- Glue (or tape)
- Scissors
- Hole puncher (optional)
STEPS
STEP 1: Paint the Toilet Paper Rolls
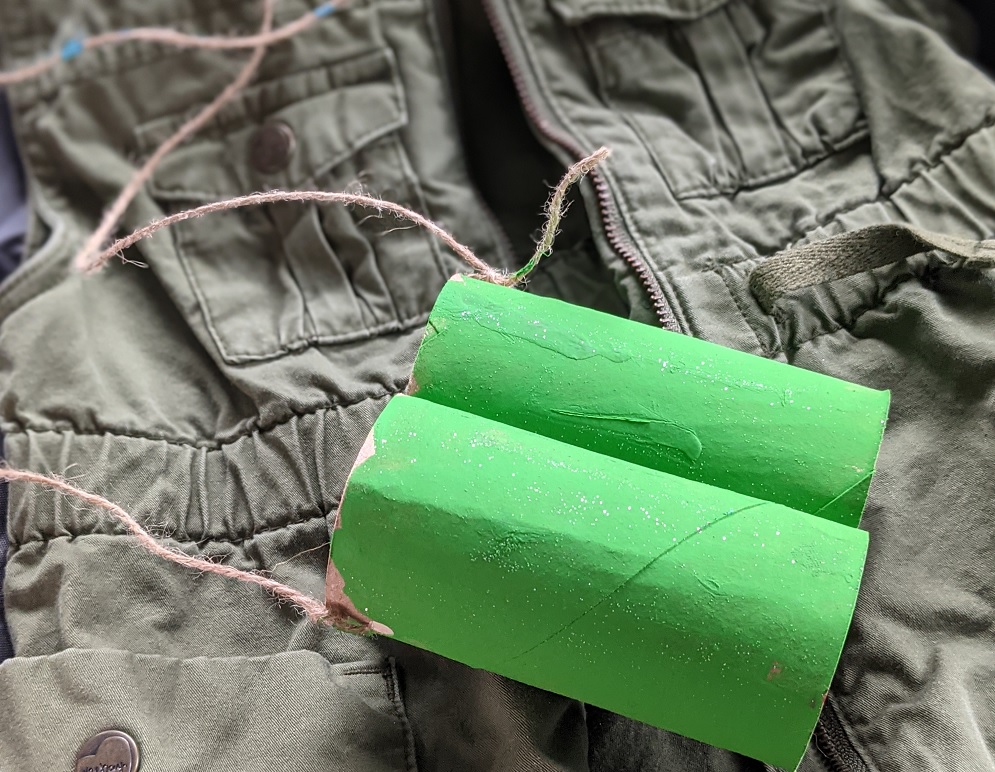
Optionally paint the toilet paper rolls before for decoration (you can do this after as well). Wait until they are dry before continuing the next step.
STEP 2: Create the Barrels


Glue or tape the barrels (toilet paper rolls) together. If gluing, wait until the glue dries before continuing to the next step.
STEP 3: Create & Attach the Cord


Using the hole puncher, punch a hole on the outside side of one of the toilet paper rolls. This will be where you attach the cord. Directly across on the other toilet paper roll, punch another hole.
Cut the twine, string, or yarn long enough so that it can loop around your kid’s neck comfortably. Loop the end of the twine/string/yarn into one of the holes & tie to fasten it. Tie the other end as well. Cut off the excess.
STEP 4: Optionally Decorate


If you didn’t paint before starting, you can do so again, add stickers, decorate as much as you’d like! Then – enjoy your new ‘binoculars’
THANK YOU!!!
Thank you so much for checking out our article about this simple DIY Wall tree craft. Hopefully this has helped and maybe even inspired more ideas!
If you are looking for more DIY craft ideas, please feel free to check out our other posts: Crafts for Kids and follow us on Pinterest!
Happy Creating!


