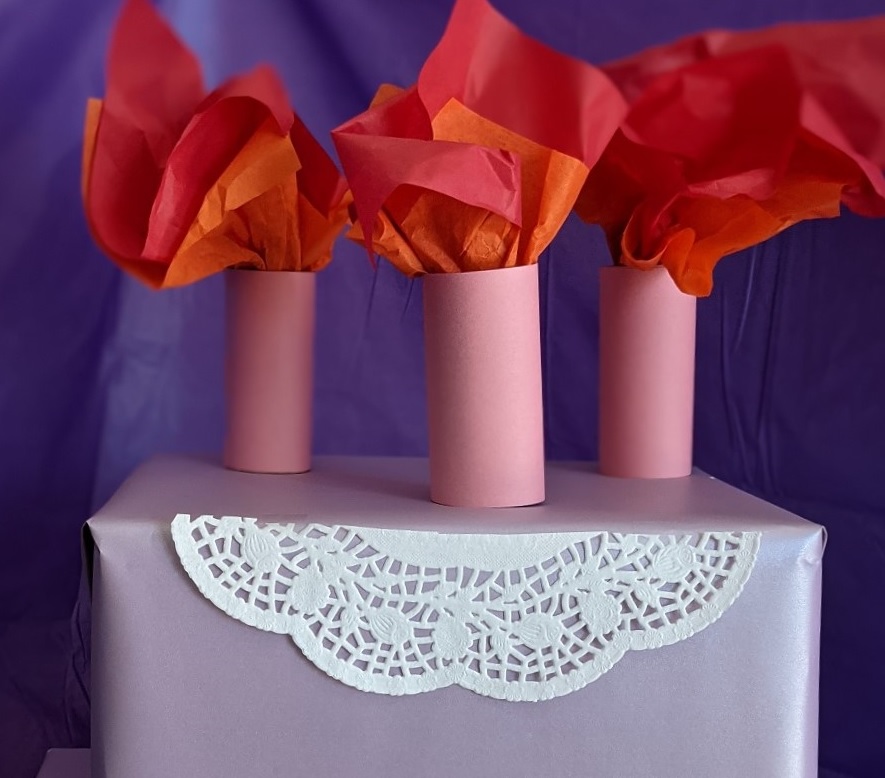
Okay, so you can definitely modify this one to be larger, have multiple layers, or just make a small and tiny version. Completely up to you and what you’re looking for! But, no matter the size, since you’re using upcycled pieces and supplies you can find at any Dollar Store or General Store, you won’t be spending a whole lot on this 3D Birthday Cake Decoration 🙂
For this tutorial, we created a 2-Layer Birthday Cake decoration but you can always add more 🙂
WHAT YOU’LL NEED
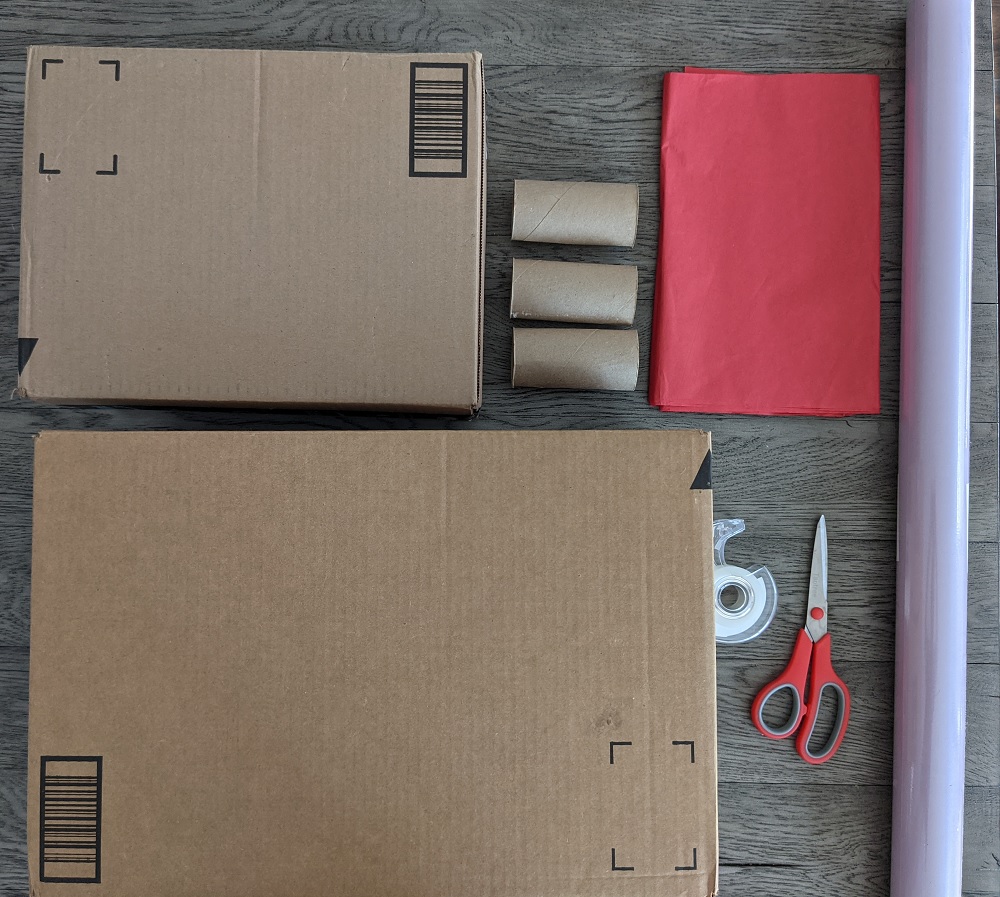
THE SUPPLIES:
- Upcycled Cardboard Boxes in similar shape but varying sizes. These will be the layers of the cake.
- Upcycled Toilet Paper Rolls. These will be candles, so grab as many toilet paper rolls as you need. You can also optionally just use construction paper but it will be slightly less sturdy.
- Plain Color Wrapping Paper (no designs) OR Tissue Paper. This will be the base of the cake or the “icing”
- Dollies, stickers, paper letters (Optional). This is for decorating the cake.
- Construction Paper. This will be the colors of the candles.
- Red and Orange Tissue Paper Sheets. This will be the fire for the candles. One sheet of each should make about 4-6 “flames” depending on how large you make them.
THE TOOLS
- Tape
- Packaging Tape (optional)
- Scissors
STEPS
STEP 1: Create the Cake Layers
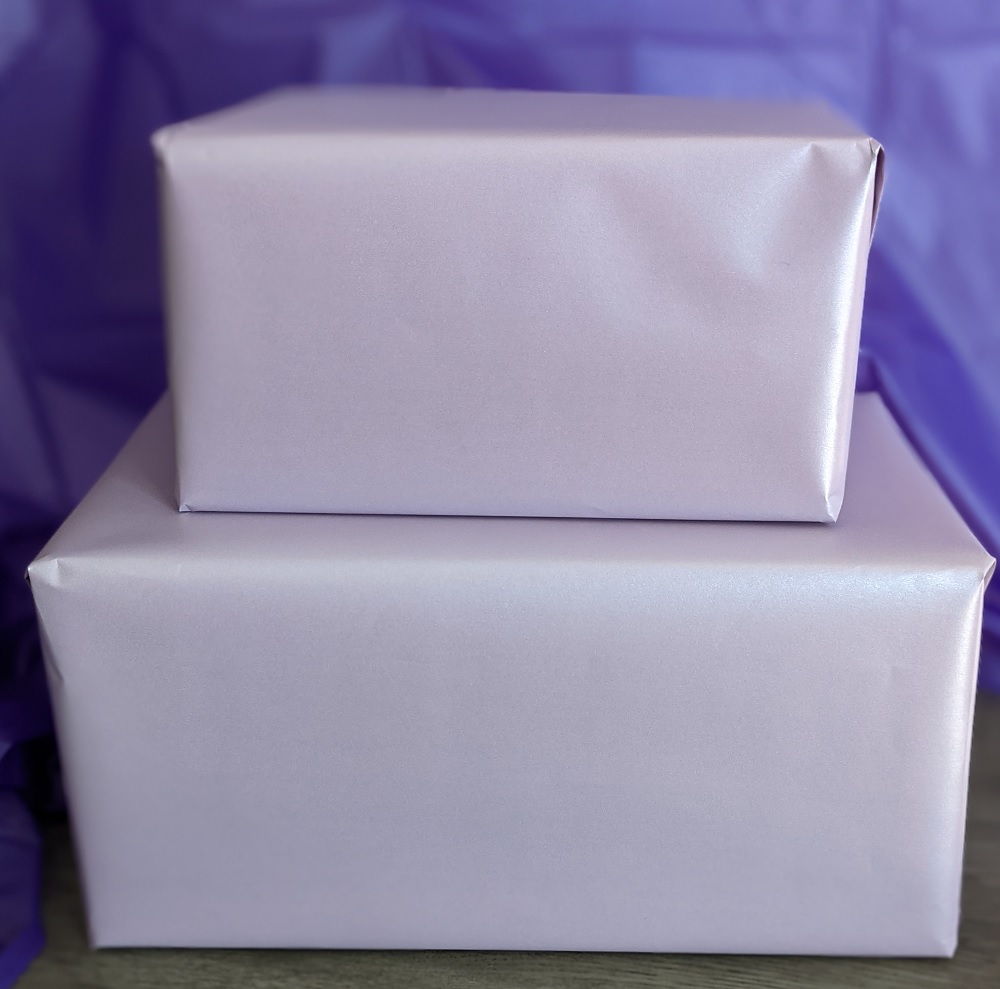
Make sure your boxes are taped up & closed. Then wrap them as you would any present with your plain wrapping paper or tissue.
Once all boxes are wrapped, place them on top of each other – largest at the bottom. If your boxes are large, you may need packaging tape vs. regular tape to keep them in place.
STEP 2: Create the Candles


If you’re using standard toilet paper rolls and construction paper, you should be able to wrap 3 with one piece of construction paper. Cut the construction paper into thirds, then wrap around each roll. Tape down the end of the paper to hold it in place.
Repeat for as many candles as needed.
Then arrange the candles on the top layer of the cake. To keep in place, add a piece of tape at bottom.
STEP 3: Light the Candles


Cut the red tissue paper into squares. Cut the orange tissue paper into smaller squares. The cut doesn’t have to be perfect or straight – it actually comes out slightly more realistic if the lines aren’t 100% clean.
Place the smaller orange tissue paper on top of the red one. Ensure it’s aligned so you can see the red outline.
Pinch the middle of both the tissue papers and scrunch up the rest of the paper. It should look like a flower. Then place the pinched end into the “candle” / toilet paper roll.
STEP 4: Optionally Decorate
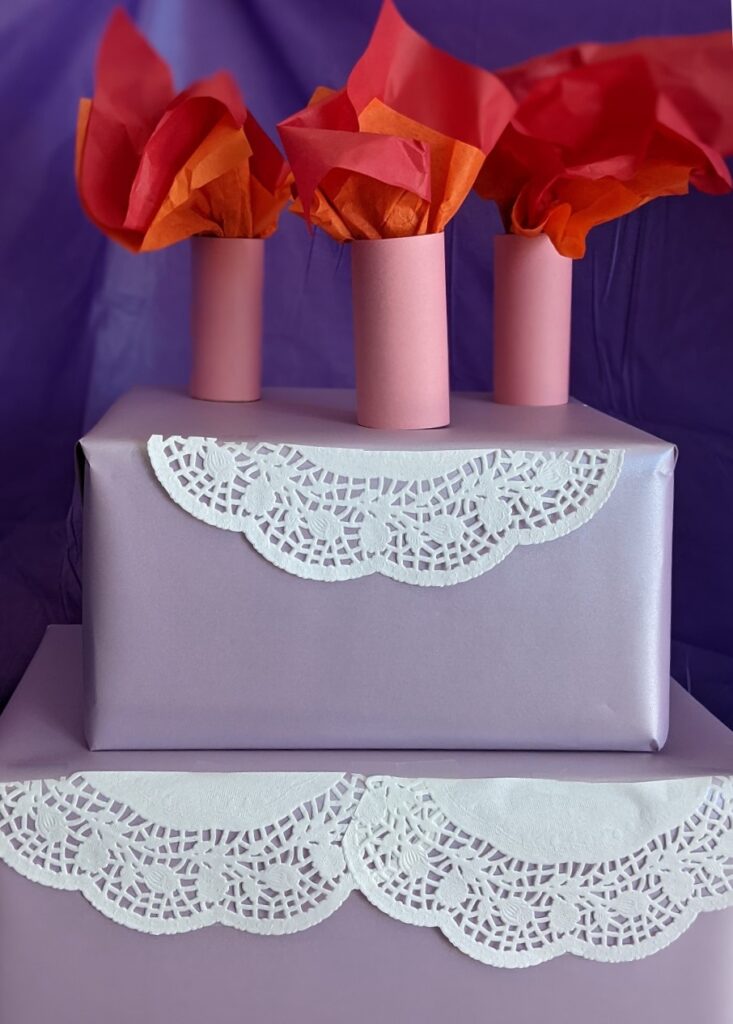
If you have some dollies or letters, you can add some “frosting” to the cake. Stickers and markers may work too depending on what you used to wrap the boxes. Otherwise, your cake is ready for the birthday area!
THANK YOU!!!
Thank you so much for checking out our article about this simple DIY Large Paper Die & Thank you firstpalette.com for the original tutorial. Hopefully this has helped and maybe even inspired more ideas!
If you are looking for more DIY craft ideas, please feel free to check out our other posts: Crafts for Kids and follow us on Pinterest!
Happy Creating!
